A broken underwire doesn’t mean the end of your favourite bra! With a simple replacement, you can give it a new lease on life and save money. In this guide, I’ll walk you through how to remove a damaged underwire and insert a new one.
What You’ll Need:
✔ A replacement underwire (Shop our underwires here)
✔ A seam ripper or small scissors
✔ A needle and matching thread (or a sewing machine)
✔ A thimble (optional)
Step 1: Remove the Broken Underwire
Using a seam ripper or small scissors, open the stitching at the end of the underwire channelling, near the underarm. Gently slide out the broken wire. If your underwire has completely snapped in half you might also have to unpick the stitching at the other end of the channelling (at the centre front) in order to get the other half of the wire out.
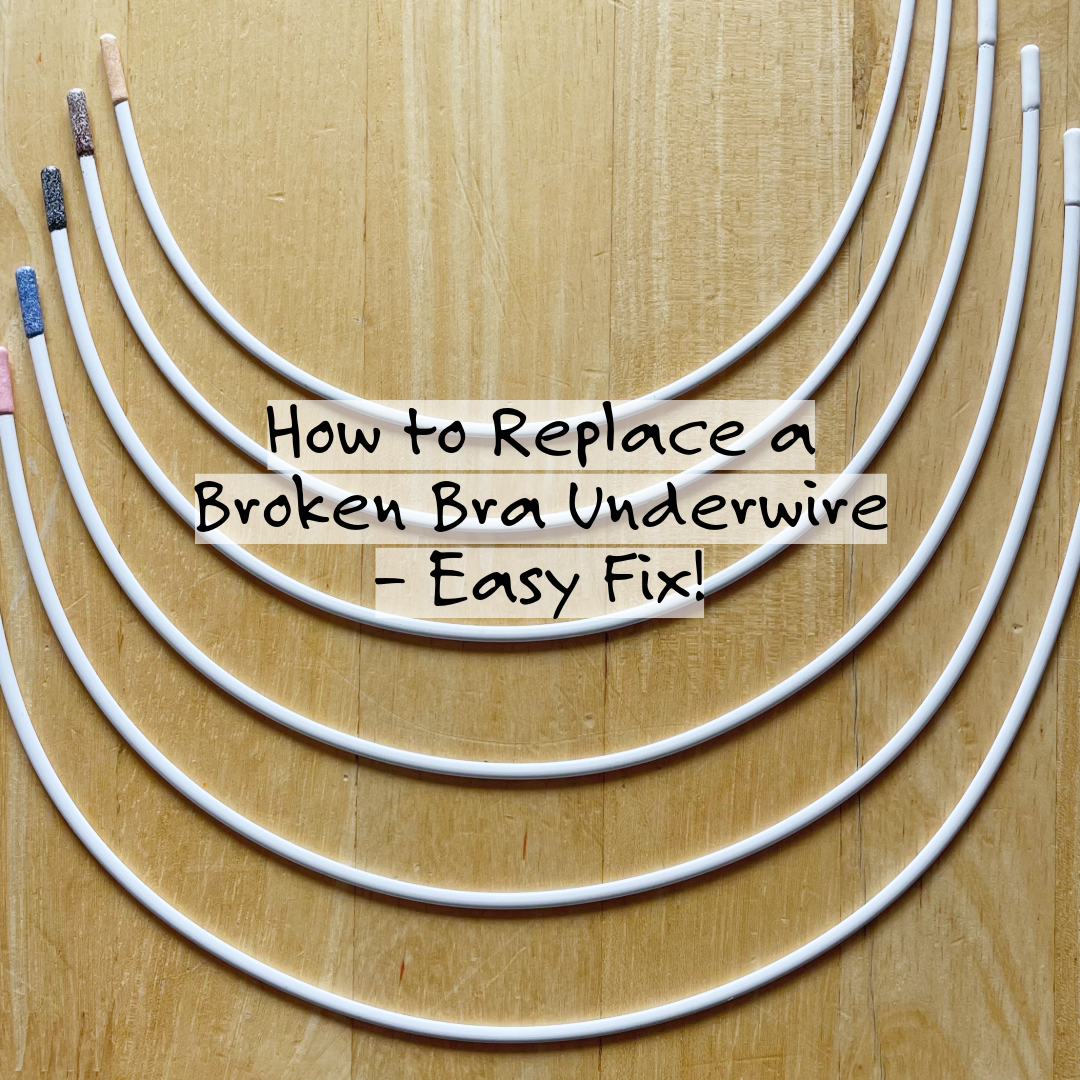
Step 2: Choose the Right Replacement Wire
Before inserting a new wire, make sure you’ve selected the correct size and shape. If you’re unsure, check out our guide on finding the correct underwire and download our free printable underwire chart to match your existing wire.
Step 3: Insert the New Underwire
Slide the new underwire into the channel, ensuring the wires are facing the correct way. Usually the coloured tip of the wire points toward the centre gore.
Step 4: Secure the Channel Opening
Once the wire is in place, stitch the opening(s) closed using a tight whipstitch or a small zigzag stitch on a sewing machine. If the original channel casing is worn consider replacing it with puncture resistant wire casing.
Step 5: Test the Fit
Try on your bra to ensure the underwire sits comfortably. Adjust as needed, and you’re good to go!
Final Thoughts
Repairing a bra is quick, easy, and helps extend its lifespan. Need more help? Check out our guide on finding the perfect replacement underwire.